
Welcome to Day 9 of 21 Days of AWS using Terraform, topic for today is Introduction to Route53 using terraform.
What is AWS Route53?
Amazon Route 53 is a highly available and scalable Domain Name System (DNS) web service. You can use Route 53 to perform three main functions in any combination:
- Domain Registration
- DNS Routing
- Health Checking
Key DNS Terms
- A Record
A record is used to translate human-friendly domain names such as “www.example.com” into IP-addresses such as 192.168.0.1 (machine friendly numbers).
- CNAME Record
A Canonical Name record (abbreviated as CNAME record) is a type of resource record in the Domain Name System (DNS) which maps one domain name (an alias) to another (the Canonical Name.)
- NameServer Record
NS-records identify the DNS servers responsible (authoritative) for a zone.
Amazon Route 53 automatically creates a name server (NS) record that has the same name as your hosted zone. It lists the four name servers that are the authoritative name servers for your hosted zone. Do not add, change, or delete name servers in this record.
ns-2048.awsdns-64.com
ns-2049.awsdns-65.net
ns-2050.awsdns-66.org
ns-2051.awsdns-67.co.uk
- SOA Record
A Start of Authority record (abbreviated as SOA record) is a type of resource record in the Domain Name System (DNS) containing administrative information about the zone, especially regarding zone transfers
AWS Specific DNS Terms
- Alias Record
Amazon Route 53 alias records provide a Route 53–specific extension to DNS functionality. Alias records let you route traffic to selected AWS resources, such as CloudFront distributions and Amazon S3 buckets. They also let you route traffic from one record in a hosted zone to another record.
Unlike a CNAME record, you can create an alias record at the top node of a DNS namespace, also known as the zone apex. For example, if you register the DNS name example.com, the zone apex is example.com. You can’t create a CNAME record for example.com, but you can create an alias record for example.com that routes traffic to www.example.com.
- AWS Route53 Health Check
Amazon Route 53 health checks monitor the health and performance of your web applications, web servers, and other resources. Each health check that you create can monitor one of the following:
- The health of a specified resource, such as a web server
- The status of other health checks
- The status of an Amazon CloudWatch alarm
Step1: Create a hosted zone
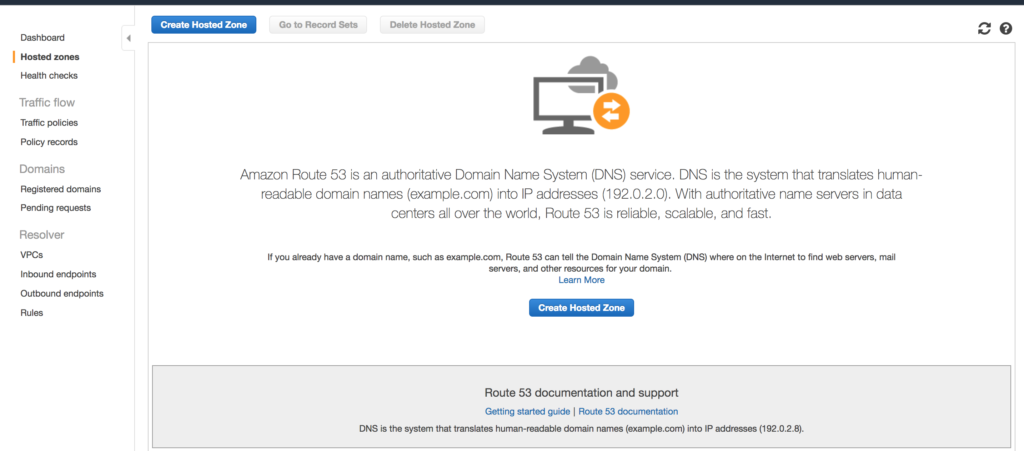
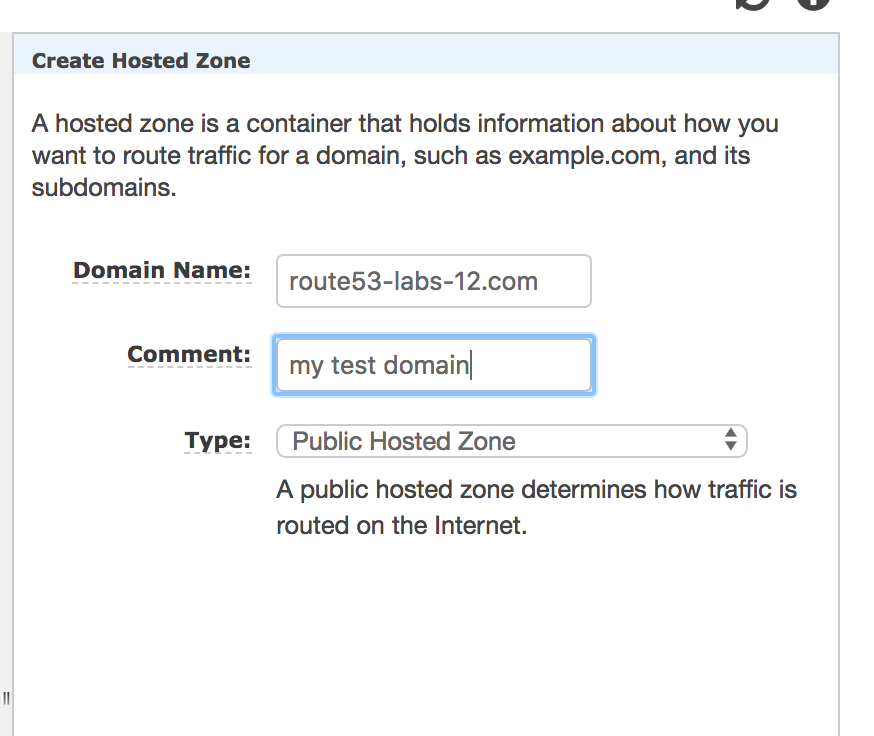
Go to https://console.aws.amazon.com/route53 --> Hosted zones --> Create Hosted Zone
* Domain Name: You must need to purchase this domain either from your Domain Registrar or you can purchase from Amazon
* Comment: Add some comment
* Type: Public Hosted Zone(if purchased by a domain registrar) OR you can set Private Hosted Zone for Amazon VPC
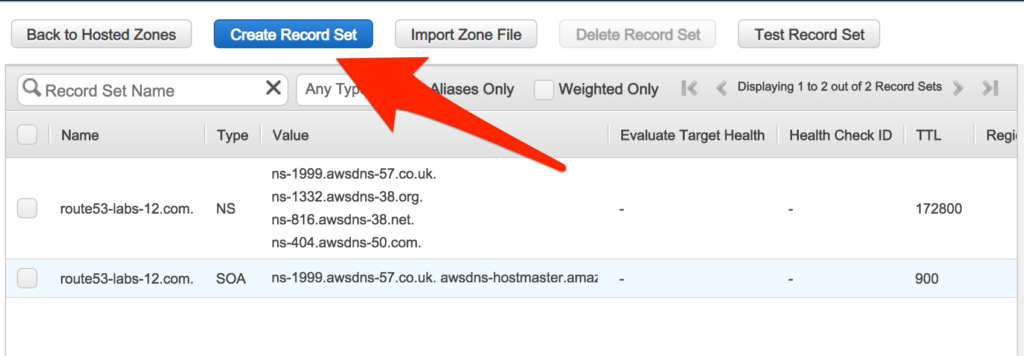
- The moment you create a hosted zone four NS and SOA record will be created for you.

NOTE: Please don’t change or alter these records.
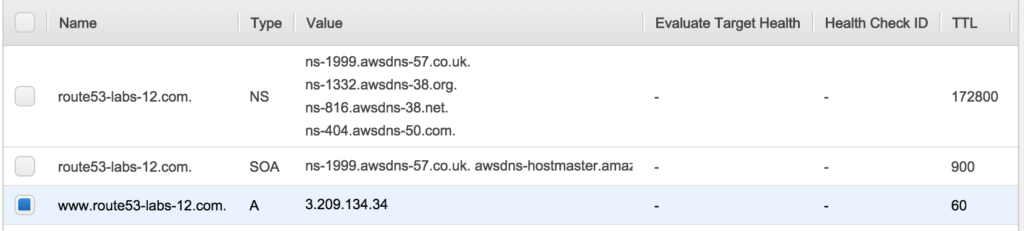
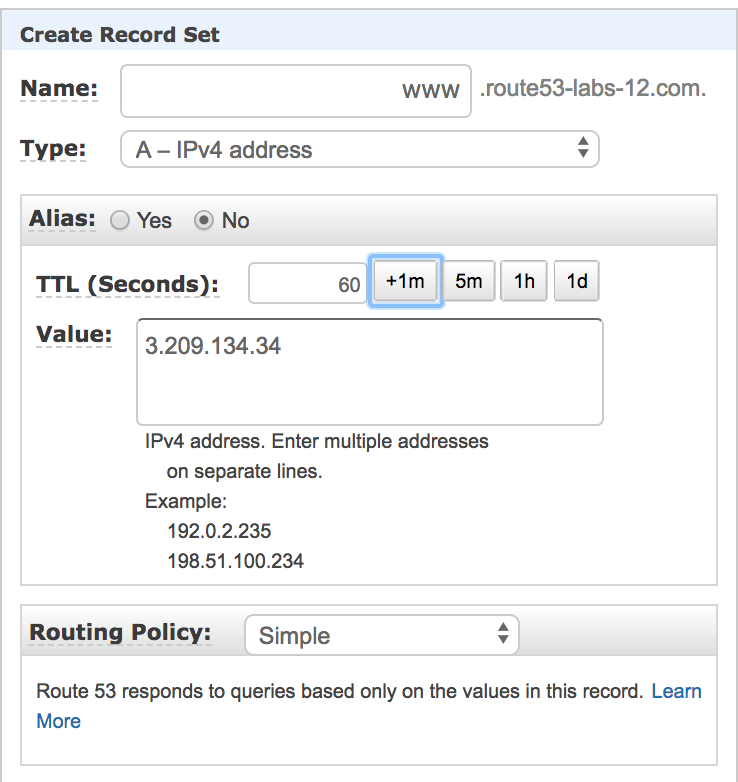
Step2: Create A record

* Name : www
* Type: A-IPv4 address
* Alias: No
* TTL: Select +1m(60second)
* Value: Public IP of your EC2 instance
* Routing Policy: Simple
- You will see the record like this
Choosing a Routing Policy
- When you create a record, you choose a routing policy, which determines how Amazon Route 53 responds to queries:
Simple Routing
Simple Routing Policy use for a single resource that performs a given function for your domain, for example, a web server that serves content for the example.com website.
If you choose the simple routing policy in the Route 53 console, you can’t create multiple records that have the same name and type, but you can specify multiple values in the same record, such as multiple IP addresses. If you specify multiple values in a record, Route 53 returns all values to the recursive resolver in random order, and the resolver returns the values to the client (such as a web browser) that submitted the DNS query. The client then chooses a value and resubmits the query.
- As you can see in the above case we are using Simple Routing Policy.
- Let’s automate this with the help of terraform code
resource "aws_route53_zone" "my-test-zone" {
  name = "example.com"
  vpc {
    vpc_id = "${var.vpc_id}"
  }
}
name – This is the name of the hosted zone.
vpc – Configuration block(s) specifying VPC(s) to associate with a private hosted zone.
resource "aws_route53_record" "my-example-record" {
  count = "${length(var.hostname)}"
  name = "${element(var.hostname,count.index )}"
  records = ["${element(var.arecord,count.index )}"]
  zone_id = "${aws_route53_zone.my-test-zone.id}"
  type = "A"
  ttl = "300"
}zone_id– The ID of the hosted zone to contain this record.name– The name of the record.type– The record type. Valid values areA,AAAA,CAA,CNAME,MX,NAPTR,NS,PTR,SOA,SPF,SRVandTXT.ttl– The TTL of the record.records– (Required for non-alias records) A string list of records- Here I am using element function
element retrieves a single element from a list.

element(list, index)
The index is zero-based. This function produces an error if used with an empty list.

Use the built-in index syntax list[index] in most cases. Use this function only for the special additional "wrap-around" behavior described below.
For more info
https://www.terraform.io/docs/configuration/functions/element.html
variables.tf
variable "vpc_id" {}
variable "hostname" {
  type = "list"
}
variable "arecord" {
  type = "list"
}
Final Route53 terraform module look like this
module "route53" {
  source   = "./route53"
  hostname = ["test1", "test2"]
  arecord  = ["10.0.1.11", "10.0.1.12"]
  vpc_id   = "${module.vpc.vpc_id}"
}
GitHub link
https://github.com/100daysofdevops/21_days_of_aws_using_terraform/tree/master/route53
Looking forward for you guys to join this journey
- Website: https://100daysofdevops.com/
- Twitter: @100daysofdevops OR @lakhera2015
- Facebook: https://www.facebook.com/groups/795382630808645/
- Medium: https://medium.com/@devopslearning
- GitHub: https://github.com/100daysofdevops/100daysofdevops
- Slack: https://join.slack.com/t/100daysofdevops/shared_invite/enQtNzg1MjUzMzQzMzgxLWM4Yjk0ZWJiMjY4ZWE3ODBjZjgyYTllZmUxNzFkNTgxZjQ4NDlmZjkzODAwNDczOTYwOTM2MzlhZDNkM2FkMDA
- YouTube Channel: https://www.youtube.com/user/laprashant/videos?view_as=subscriber
In addition to that, I am going to host 5 meetups whose aim is to build the below architecture.

- Meetup: https://www.meetup.com/100daysofdevops
- Day1(Nov 10): Introduction to Terraform https://www.meetup.com/100daysofdevops/events/266192294/
- Day 2(Nov 16): Building VPC using Terraform
- Day 3(Nov 17): Creating EC2 Instance inside this VPC using Terraform
- Day 4(Nov 23): Adding Application Load Balancer and Auto-Scaling to the EC2 instance created on Day 3
- Day5(Nov 24): Add Backend MySQL Database and CloudWatch Alarm using Terraform